Virtual Box – Virtualisation
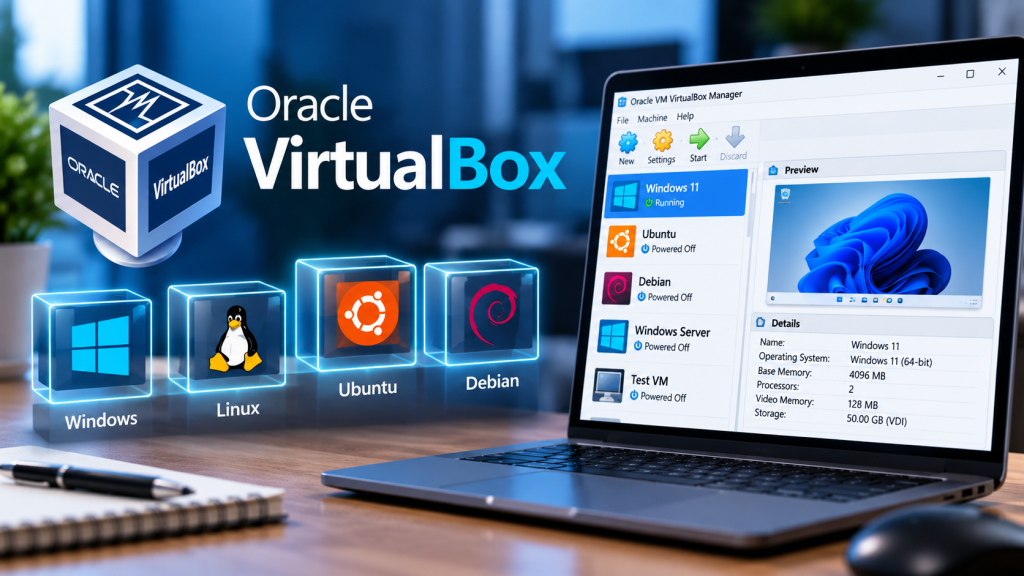
Oracle VM VirtualBox is a highly popular, open-source, and free Type-2 hypervisor used to run multiple operating systems simultaneously on a single computer. Unlike native solutions restricted to specific OS editions, VirtualBox acts as a software application layer on top of your main desktop, making it incredibly accessible, flexible, and cross-platform. Whether you are an enthusiast testing new software or a developer creating sandbox environments, VirtualBox is the go-to virtualisation suite for multi-platform experimentation.
System Requirements: What You Need to Run It
VirtualBox is famously forgiving with hardware, but you still need a baseline setup to ensure smooth performance:
- Operating System: Windows 10 or Windows 11 (All versions, including Home edition), macOS, Linux, or Solaris.
- Processor: Any modern 64-bit AMD or Intel processor.
- BIOS Features: Hardware virtualisation (Intel VT-x or AMD-V) must be enabled in your motherboard’s BIOS/UEFI settings.
- Memory & Storage: A minimum of 4 GB RAM (8 GB or more highly recommended) and enough free solid-state drive (SSD) space to allocate to your guest operating systems.
How to Install VirtualBox and Its Essential Tools
Getting VirtualBox up and running requires downloading the core application and its optional extension package for full device support:
- Visit the official VirtualBox website and download the installer package matching your host operating system.
- Run the installer and proceed through the setup wizard, accepting the default components (including the VirtualBox networking drivers).
- Download the Extension Pack: On the same download page, get the VirtualBox Extension Pack. Open VirtualBox, go to File > Tools > Extension Pack Manager, click Install, and choose the downloaded file to unlock features like USB 3.0 support and disk encryption.
How to Configure and Connect Your Network
VirtualBox features an incredibly diverse set of virtual networking tools accessible right from each VM’s settings panel:
- To Connect to the Internet (Default NAT): VirtualBox sets new VMs to NAT (Network Address Translation). This acts like a home router, letting your VM safely browse the web and download updates through your host computer without being visible to other devices on your physical network.
- To Bridge to Your Local Network: Switch the adapter to Bridged Adapter. This makes the VM behave like a separate physical computer connected directly to your home router, receiving its own local IP address.
- To Isolate the Network: Switch the adapter to Internal Network or Host-Only Adapter. A Host-Only network creates a private network loop shared exclusively between the host and VMs, while an Internal network strictly isolates VMs from the host and the internet—allowing them to only communicate with each other.
How to Create a Windows 11 Virtual Machine
VirtualBox provides built-in tools to handle Windows 11’s strict hardware dependencies seamlessly:
- Download the standard Windows 11 ISO file from Microsoft’s software page.
- In VirtualBox, click the blue New button. Name your machine and select your Windows 11 ISO file.
- VirtualBox will offer an Unattended Installation menu. Here, you can configure your username, password, and product key ahead of time.
- Under the hardware profile tab, make sure to check the box for Enable EFI (special OSes only), assign a minimum of 4096 MB of RAM, and assign at least 2 CPU cores.
- Finish the wizard and launch the VM. VirtualBox automatically passes a virtual TPM 2.0 and Secure Boot profile to the VM, allowing the Windows 11 setup to complete without registry hacks.
How to Create an Ubuntu Linux Virtual Machine
Setting up Ubuntu Linux in VirtualBox is a straightforward process that works out of the box:
- Download the latest Ubuntu Desktop LTS ISO image from the official Ubuntu website.
- Click New in VirtualBox, choose your Ubuntu ISO, and name the virtual machine.
- Allocate your resources (2 GB RAM is the functional baseline, though 4 GB RAM and 2 CPU cores will make it significantly more responsive).
- Create a virtual hard disk (25 GB or higher recommended) and click Finish.
- Start the VM, choose “Try or Install Ubuntu”, and follow the visual setup assistant to partition the virtual disk and create your Linux user account.
How to Add Acceleration and Optimization for Better Performance
To prevent lag and ensure smooth mouse integration, you must add performance tweaks post-installation:
- Install Guest Additions (Crucial): Once your Windows or Ubuntu VM boots to the desktop, click Devices > Insert Guest Additions CD Image in the VirtualBox top menu bar. Run the installer inside the guest OS. This unlocks dynamic screen resizing, shared clipboards (copy/paste), drag-and-drop file transfers, and mouse pointer integration.
- Video Memory & 3D Acceleration: Shut down the VM, open its settings, go to Display, slide the Video Memory to 128 MB, and tick Enable 3D Acceleration to pass through graphic processing power from your host GPU.
- Nested Virtualisation: If you plan to run Docker, WSL2, or another hypervisor inside your VirtualBox VM, navigate to System > Processor and tick Enable Nested VT-x/AMD-V.
The Pros and Cons of Oracle VM VirtualBox
Consider the trade-offs of using VirtualBox compared to integrated native tools like Hyper-V:
| Pros | Cons |
|---|---|
| 100% Free & Open-Source: Full commercial and personal features without restrictive licensing costs. | Type-2 Overheads: Runs as a software app on top of the host OS, making it slightly slower than bare-metal options. |
| Universal Windows Home Support: Runs perfectly on Windows 11 Home without needing premium upgrades. | Manual Tooling Required: Features like clipboard sharing and display scaling depend on manually installing Guest Additions. |
| Excellent Legacy Support: Incredible compatibility tracking for older operating systems, legacy Linux versions, and legacy Windows builds. | Driver Disruption: VirtualBox network and USB bridge drivers can occasionally cause driver stability drops on host machines. |