How to Migrate from On-Premises Exchange to Microsoft 365: A Strategic Guide
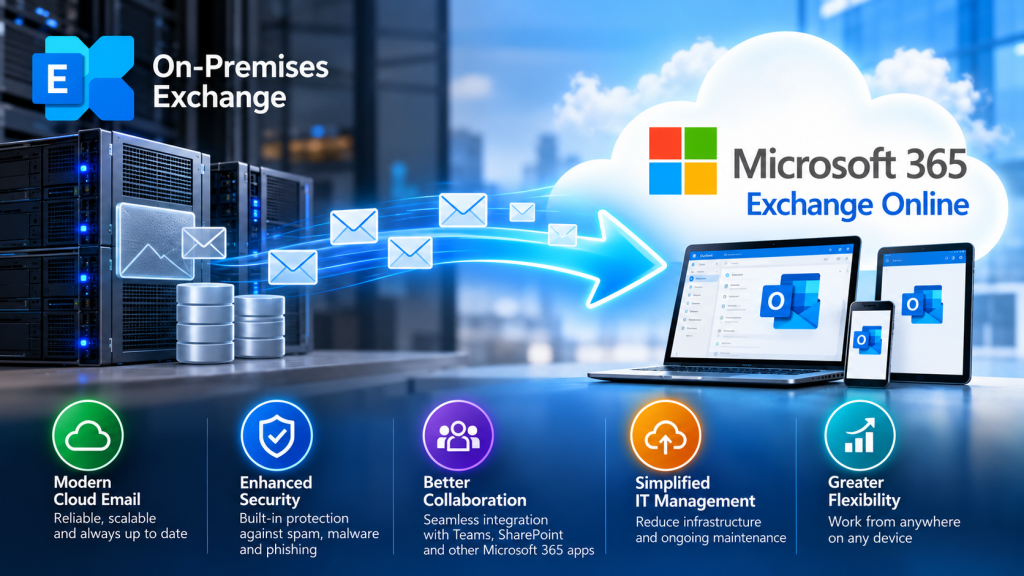
Moving your email infrastructure from a traditional on-premises Exchange Server to the cloud is one of the most impactful modernisations an organisation can make. Migrating to Microsoft 365 (M365) eliminates the burden of hardware maintenance, ensures continuous security updates, and provides seamless integration with the broader cloud ecosystem.
However, an email migration touches every user in your organisation. Moving mailboxes requires careful planning, selecting the correct migration pathway, and executing the transition cleanly to avoid data loss or downtime.
Here is an architectural overview of how to plan and execute a successful transition to the cloud.
1. Choose Your Migration Method
Microsoft offers several native pathways to move data from an on-premises Exchange environment to the cloud. Choosing the right method depends heavily on your current Exchange version, your seat count, and whether you require a gradual transition or a sudden switchover.
- Cutover Migration: Best for smaller organizations (fewer than 150 mailboxes) running older legacy versions like Exchange 2003, 2007, 2010, or 2013. The entire migration happens all at once—typically over a weekend. All mailboxes, contacts, and distribution groups move to the cloud in a single configuration block.
- Staged Migration: Designed for mid-sized organizations (more than 150 mailboxes) running Exchange 2003 or 2007. Mailboxes are migrated to the cloud in batches over a longer period. It requires managing users across both environments until the process finishes.
- Hybrid Migration (Minimal or Full): The gold standard for modern enterprises running Exchange 2010, 2013, 2016, or 2019. A hybrid configuration connects your on-premises environment directly to Microsoft 365. It allows seamless mailbox moves behind the scenes, shared free/busy calendar data, and zero disruption to end-users.
2. Phase 1: Pre-Migration Preparation
A successful migration depends heavily on the cleanup you do before moving a single byte of data.
- Audit Your Directory: Clean up your active directory. Delete stale user accounts, empty distribution lists, and duplicate objects. Ensure every user account has a properly configured User Principal Name (UPN) that matches their primary email address.
- Assess Bandwidth: Moving terabytes of historical email data requires substantial internet bandwidth. Calculate your migration timeline based on your upload speeds to set realistic timeline expectations.
- Purchase Licences: Procure your M365 tenant and purchase the required licensing tiers (such as Microsoft 365 Business Premium or Enterprise E3/E5) so they are active and ready to assign to users as they migrate.
3. Phase 2: Technical Configuration and Execution
Once you choose a method and prepare the data, the technical execution phase begins.
- Set Up Domain Verification: Add and verify your custom email domain within the Microsoft 365 Admin Center to prove ownership of the domain space.
- Deploy Directory Synchronization: Install and configure Microsoft Entra Connect on-premises. This tool synchronizes your local Active Directory user accounts and passwords straight to the cloud, giving users a seamless single sign-on (SSO) experience.
- Establish the Migration Endpoint: Configure the connection link between your on-premises Exchange server and the Microsoft 365 cloud environment. This is typically done using the Exchange Management Console or Remote PowerShell.
- Create and Run Batches: Group your users into logical migration batches (e.g., department by department) and start the initial sync. The data will mirror to the cloud in the background while users continue working on-premises.
4. Phase 3: The Cutover and Post-Migration Clean Up
When the background data sync reaches 100%, it is time to cut over routing to the cloud environment permanently.
- Update MX Records: Change your public DNS MX (Mail Exchanger) records to point directly to Microsoft 365. This ensures that new inbound internet mail routes straight to the cloud instead of your old server.
- Update Autodiscover: Shift your Autodiscover DNS records to point to Microsoft 365 so Outlook applications automatically reconfigure themselves to pull data from the cloud when users log in.
- Final Differential Sync: Run a final delta sync to pick up any remaining emails that arrived between the initial synchronization and the MX record change.
- Decommission Safely: Do not pull the plug on your old Exchange server immediately. Keep it running in a read-only state for a few weeks to ensure no legacy applications, scanners, or internal copiers rely on it for SMTP relaying.