How to Replace a Legacy Domain Controller and Application Server: A Complete Migration Guide
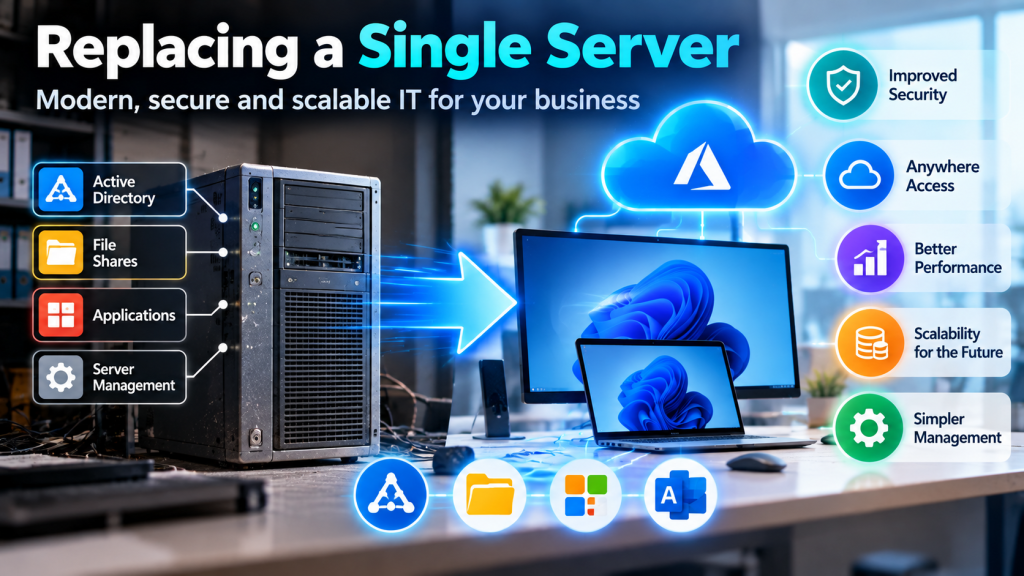
Replacing an all-in-one on-premises server is one of the most complex projects an IT administrator can undertake. When a single piece of hardware acts as your Domain Controller, host to your company file shares, and the engine room for core SQL database applications, you cannot simply copy and paste files to a new box.
To avoid breaking user authentication, interrupting database consistency, or losing strict security permissions, the migration must be phased methodically. Once the transition is successful, the old hardware can be safely decommissioned and physically recycled.
Here is the architectural blueprint to migrate your roles, files, and databases to a brand-new server environment cleanly.
Phase 1: Setting Up the New Domain Controller (Active Directory & Roles)
Never try to copy Active Directory data. Instead, you introduce the new server as a clean helper to the existing domain, let the data replicate natively, and then hand over total control.
- Join the Domain: Install your new Server OS, configure a static IP address, and join it to your existing domain as a member server.
- Install the AD DS Role: Use Server Manager to install the Active Directory Domain Services (AD DS) and DNS roles on the new hardware.
- Promote the Server: Promote the new server to a Domain Controller within your existing forest. Allow your user accounts, security policies, and DNS records to replicate across the network completely.
- Transfer FSMO Roles: Once replication is healthy, transfer the five Flexible Single Master Operation (FSMO) roles from the old server to the new one via PowerShell or Active Directory consoles. The new server is now the primary director of your network.
Phase 2: Migrating Core Infrastructure Roles (DHCP & DNS)
If your old server handed out IP addresses to your network, you need to migrate the DHCP service seamlessly so user devices don’t lose internet or network connectivity.
- Export the Configuration: Use the DHCP console or PowerShell on the old server to export the entire configuration lease database, including all scope setups and reservations.
- Import and Authorize: Install the DHCP role on the new server, import the configuration file, and authorize the new server in Active Directory.
- Deactivate the Old Scope: Deactivate the DHCP scopes on the old server immediately after activating them on the new server to prevent IP conflicts.
Phase 3: Moving File Shares and Security Principles
Migrating corporate data means moving the files while strictly preserving the existing **NTFS permissions** and **Share permissions** so staff members maintain access to the exact folders they need.
- Use a Robust Copy Tool: Avoid using standard Windows drag-and-drop, which strips away security settings. Instead, use a tool like Robocopy with the appropriate flags (such as
/COPYALL /SEC /MIR) to mirror the data architecture and ACLs (Access Control Lists) exactly. - Keep Security Groups Intact: Because your Active Directory domain was replicated in Phase 1, all your user security groups remain active. The files on the new server will read these existing security descriptors perfectly.
- Cut Over the Paths: Once data is copied, drop the shares on the old server, create identical shares on the new server, and update your user login scripts or Group Policy Objects (GPOs) to point to the new drive paths.
Phase 4: Migrating SQL Databases and Applications
Line-of-business applications like enterprise accounting systems or dispensing databases rely heavily on relational Microsoft SQL Server instances. Migrating these requires ensuring zero data corruption.
- Stop Application Services: Kick all users out of the software and temporarily stop the application services on the old server. This freezes the database state so no new entries are written mid-transfer.
- Backup and Relocate: Perform a full database backup (
.bakfile) via SQL Server Management Studio (SSMS). Copy the backup files and application installation packages to the new server. - Restore and Re-link: Install the identical version of SQL Server on the new hardware. Restore the databases from your backup files. Re-run the application installers, pointing the software configuration files to the new SQL instance name.
- Re-map the Clients: Update the client software installed on individual employee workstations so they look for the new server’s hostname or IP address when launching the application.
Phase 5: Safe Decommissioning and Physical Destruction
Once the new server has run perfectly for a couple of weeks with no errors, you can safely dismantle the old one.
- Demote the Old Server: Run the active directory removal wizard to cleanly demote the old server from a Domain Controller back to a standard workgroup server. This tells the rest of the network that the old machine is officially retired.
- Wipe the Data: Before tossing the hardware, pull the hard drives out. Use a certified data erasure tool to overwrite the platters or solid-state storage multiple times, ensuring no client records, financial data, or password hashes can ever be recovered.
- Physical Recycle (Skipping): Send the sanitized hardware to an authorized WEEE (Waste Electrical and Electronic Equipment) recycling facility. Ensure you obtain a **Certificate of Data Destruction** for compliance and audit trails.