Information Displays

One project that I was involved with a little while ago was to provide information displays around a school. These were going to be known as Pupil Information Points – or PIPs.
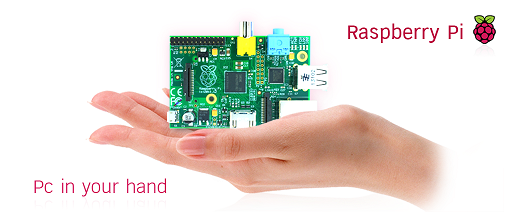
It was around the time the original Raspberry PI’s were being released and so I looked at how we could utilise these ultra compact devices to make the displays.
We decided to turn the PI into a web kiosk and would configure it to display content from a central webserver. This was because all of the digital signage software was either expensive, or cumbersome. This had to be a simple solution that could be updated on the fly without any need to visit each display.
This was the process used:
Configure Raspberry Pi
Configure Networking
- Set gateway to your proxy server / gateway address
- Set DNS to your internal DNS servers
- Set DNS search to your domain name
- Enable SSH
- Set Password
- Set Pi Name
Install VLC
- $sudo apt-get update
- $sudo apt-get install vlc
- $sudo apt-get upgrade
Disable screen sleep — so the screen stays on
- $ sudo nano /etc/lightdm/lightdm.conf
- # add the following lines to the [SeatDefaults] section
- # don’t sleep the screen
- xserver-command=X -s 0 dpms
Hide cursor on inactivity
- $ sudo apt-get install unclutter
Configure LXDE to start the Midori browser on login
- $ sudo nano /etc/xdg/lxsession/LXDE/autostart
- $ sudo nano ~/.config/lxsession/LXDE-pi/autodstart on Raspian Jessie or Stretch
- # comment everything and add the following lines
- @xset s off
- @xset -dpms
- @xset s noblank
- @amixer sset PCM,0 90%
- # if you want to play your own radio station (shoutcast) then you can add the following @cvlc <your shoutcast address>:8000/radio.m3u
- @sed -i ‘s/”exited_cleanly”: false/”exited_cleanly”: true/’ ~/.config/chromium $ #This prevents chrome from displaying error messages when it restarts
- @chromium-browser –noerrdialogs –kiosk <your webserver address> –incognito –d$
Configure Overscan
- $sudo nano /boot/config.txt
- uncomment bottom line under noobs
Now that the PI was configured, we just needed to set up a webserver. Luckily we had a NAS that also acted as a webserver. We pointed our PI’s to the NAS and created a website. We set the dimensions of the website to 1920×1080, the reason was because we attached the PI’s to FULL HD monitors using HDMI, this enabled us to also stream audio to the devices.
The website was VERY simple, it was a gallery of PowerPoint slides saved as JPGS. So when the PowerPoint was amended, we simply saved it as JPGs, changed the website using our Web Software (Website X5) and re-uploaded to the NAS.
We also put in a special code on the site to automatically reload the site every 15 minutes. This saved us going round to each display and manually refreshing the pages.
It was very simple, and very effective. Each display cost less than £150